Thursday, March 1, 2012

Mud Cake


Hi!
I used to wonder what would be the different between what they called as Mud Cake with other chocolate cakes. So, to find out, I made this once about a couple months ago. I made it out of a recipe from Exclusively Food which I found through Google (my number one source of recipes), with several changes.
Fortunately, the cake could feed not just anyone in our house back in Tangerang, but I could also had chance to gave a half of the cake to my brother. His wife returned to me to say that she and her sister like the cake. They said it's delicious. Alhamdulillah. I promised her to give the recipe, but we were too busy preparing to move to NZ. It took quite long time, I had forgot what kind of changes I made in the recipe.

Yesterday, I try to make this Mud Cake again from the same source, and again, made some changes to suit my liking.

When I make some adjustment to a recipe I found, I usually change the using of sugar and/or the food additives. Well, sometimes I make changes simply because I didn't have the needed ingredients on hand. Of course, that made me NOT always successfully made it, ha ha!

This is dede, who was fallen asleep on the carpet,
but woke up again after I bribed him
with the pan that I used to melt chocolate-->


Oh, one more important thing to be concern when you make cake but prefer NOT to use any food additives as baking powder or baking soda is the method. Food additives give short cut in making cake. With help of food additives, some long methods sometimes are not important to do any more. Take muffin as example. You don't need to use electric mixer or too much of eggs to raise a cake. But if you intend to make food additives-free cakes, you have to go through the complete or right procedures.
The complete procedure for sponge cake type is to whisk the eggs and sugar until as fluffy as you can get. Then fold in dry ingredients(flour and friends) and wet ingredients(milk and friends) alternately in three batches. Yep, you have to do little bit more work.
The result of most of additive-free cakes may not be high-risen ones like any other cakes with additives. But if the taste just as lovely and delicious, why bother using any of it, right?

Anyway, let's back to muddy Mud Cake. I don't know why they name it Mud Cake. The texture is not slimey-gooey like mud. My Mud Cake is more like ground or wet sand. Is it wrong? I don't know. But I would not really care about it when I eat it, because it taste good. The cake texture is really-really dense. I think this could be an option for chocolate lover who's looking for the alternative of brownies.


cracky..


..crackilicious.

One more thing before you read through the recipe, I made what I think as a lighter ganache. Well, if using milk instead of cream can be called 'lighter', then it is lighter *grin*. I only use 150 gram of chocolate, because it was all I have left on hand *another grin*. The cake itself IS full of fat of course. It has butter, oil, chocolate and sugar in it. But I replace buttermilk with yoghurt and reduce the sugar. I hope it helps a liiiiiitle bit to lighter it. If you afraid the ganache will be too runny, you may start with 1/3 cup of milk, and add more if needed.

Soooo, if your heart is broken, your boss is being a jerk, the traffic makes you vomit, or any of bad day, just go home and make one of this. Forget how much fat in it 'coz you deserve it!

Mud Cake

Ingredients:
250g dark chocolate
200g butter (if using unsalted butter, add 1/4 teaspoon salt with the butter)
3/4 cup water
2 cups plus 2 tablespoons plain flour
1/4 cup plus 2 teaspoons cocoa powder
1 1/2 cups sugar
4 large eggs
2 tablespoons oil
1/2 cup yoghurt

Ganache, just melt everything above simmering water and stir to blend!
150g dark chocolate
1/2 cup milk
1 tablespoon salted butter

Directions::
- Preheat oven to 160 degrees Celsius.
- Line 20cm diameter round cake pan with non-stick baking paper. I use a springform pan for easy removal of the cake.
- Place 250g chocolate, butter, oil and water in a large saucepan over low heat, stirring occasionally until they melted. Add salt and water, stir until they blend. Remove mixture from heat and allow to cool to lukewarm/room temperature. Add yoghurt in and stir well.
- Sift the flour and cocoa powder together into a large bowl.
- Whisk eggs and sugar with electric mixer until fluffy and white.
- Fold flour mixture and chocolate mixure to the egg alternately in three batches with spatula until well combined.
- Pour mixture into prepared pan.
- Bake for about 40 minutes to 1 hour.
- Insert a thin-bladed knife or wooden skewer into the centre of the cake to test whether it is cooked through. If the knife/skewer comes out clean or with moist crumbs (not gooey batter) attached, the cake is ready.
- Remove cake from oven and allow to cool in the pan.
- When the cake has cooled to room temperature, remove it from the pan.
- The top surface of the cake will probably have a crunchy crust, which you may wish to trim off. But I didn't.
- We turn the cake upside down to give a flat surface for icing.
- Then I just cut the cake into two. I use the bottom as the top to get flat surface on top.
- Spread the ganache on first piece of cake. Top it off with the other piece of cake. Don't stop. Just spread all over the surface with ganache until all covered up.
- Let it cool. You may put it in the fridge for faster result.
- After the ganache hardened, you can cut it with knife and enjoy.

Saturday, February 25, 2012

No-Knead Dinner Rolls


My very first bread!
Yay!
Alhamdulillah!

I always thought that making any kind of bread is high risk baking and complicated. All I know that bread need time, kneading, and probably a lot of luck! That's why I never try to make any. I skipped the bread recipes when I read or browse. But, it's been so long that I was eyeing on several no-knead bread recipes. I wondered, are they that easy?

Later, we are now finally moving to Auckland. We have been here for almost two months. I have to gather my guts to drive again. So I drive again, so far only to pick and drop my sons to kindy.
I'm still not so confident to drive too far, other than to the kindy. So, it makes me unable to go to grocery stores by myself. I have to wait for weekend so my hubby can drive me to go shopping. But, you know, sometimes some of the food run out before the weekend comes. Stuffs like bread is gone fast, or meet their expiry date before weekends.

I realize now, that my responsibility, not just about the food, raise so high. I have to stop from my daydreaming, slap my face and work on it!

So I finally try this recipe, after browsing for the most eeeeeasiest and shortest time it could get. I found this, from Sweet & Saucy blog. I never explore this blog before, but now I interested to go 'deeper':)
So after making shortbread yesterday, today I made real bread. After I did my Subuh pray, I started by staring the recipe I was about to make. Mix, mix mix, and I let the dough sit for an hour inside the cabinet under the stove to keep it warm.

It is sooooo nice to see it doubled in size. Looked very promising! After that I make 16 rolls, let sit for half hours.the rolls before raising up again


I cover the rolls with towel since I don't have the plastic wrap.The rolls looked bumping tight shoulder to shoulder.
After they got into the oven, it looked more stuffed and tight between them.
I love watching those little fat rolls. The smells of bread in the oven is warming the house. My heart melt. My bread, my very first bread. Not bad at all for my first time bread making.
The only bad thing that I have done is I think 25 minutes is a bit too long for my oven. So the 'skin'of the bread is a little harder that I expected. If you want to try this recipe, you might want to start with 15-20 minutes. If you think it is not enough, you can add 5 more minutes and see what happen.
Anyway, enough 'talking'. Here, have a bread!

No-Knead Dinner Rolls

Ingredients:

1 cup warm water
1 tablespoon active dry yeast
2 tablespoons of sugar
2 tablespoons of melted butter
1 large egg (lightly beaten)
3/4 teaspoon of salt
3 cups of bread flour (spooned and leveled)

Directions:
- Put warm water in a large bowl and sprinkled it with one tablespoon of active dry yeast and let the mixture stand until it was foamy (about 5 minutes). --> I don't think mine was foaming (I don't call it foaming, just blending).
- Add sugar, melted butter, egg, and salt to the yeast-water mixture, whisking to combine.
- Add flour, stirring with a wooden spoon until everything is incorporated and a sticky dough has formed.
- Using a brush, brush the top of the dough with more melted butter, cover the bowl with clean kitchen towel, and set it aside until the dough has doubled in bulk (about 1 hour).
- After an hour, turn the dough out onto well-floured chopping board.
- With floured hands, roll the dough into a thick log and cut it into 16 equal pieces.
- Smear a 23x23cm pan with melted butter.
- By hands, fold the edges of each piece towards the center, pressing to secure, until a smooth ball formed.
- Put the dough balls in the prepared baking pan (smooth side up), cover the pan loosely with kitchen towel, and let them rise in a warm place until doubled in bulk (about 30 minutes).
- After the rolls has risen adequately, remove towel from the pan and bake them at 205C for 15 minutes first (and add few minutes more if necessary).
- Take them out of the oven.

Makes 16 rolls.

Friday, February 24, 2012

Oatmeal Shortbread


Small batch.
Small batch is good to test out a recipe. This one is simply easy and the result is a small batch of buttery and crunchy-inside shortbreads. It is good enough for hungry toddlers between their meal time. The sugar used is low, so for you sweet-tooth people, these might not suits your taste so much.
I got the recipe from here.
I just made a little adjustment, so you might want to compare with it's original recipe. I made the boys helped me out making it. They just dumped the ingredients into the bowl. I thought the batter could be cut with cookie cutter. But, apparently I didn't think it's firm enough for it and instead it is good enough to be flatten in the tin and cut out after bake.
So here is the recipe, my way ;)


Oatmeal Shortbread

Ingredients:
1 cup flour
3 tablespoons sugar
120 gr unsalted butter
1/3 cup quick-cooking oats
a little salt

Directions:
- Heat up the oven 165 celcius.
- Toss the heck all of ingredients into the bowl. Process it by cutting with two butter knife until mixture resembles fine crumbs.
- Mould the batter into a ball.
- Lined a tin with baking paper. I use about 23x23cm tin.
- Put the batter onto the tin. Use your finger and hand to press the batter to cover the tin's base.
- Use the butter knife to make a cutting trace on the batter'surface. If you want to cut it deep until the butter knife reach the tin's base, it's alright too.
- Bake the shortbread for about 20-30 minutes.
- Take the tin out and immediately cut the cookies carefully following the traces that you have been made in advance.
- Let it cool.
- Take the cookies out the tin. Enjoy!

Wednesday, September 28, 2011

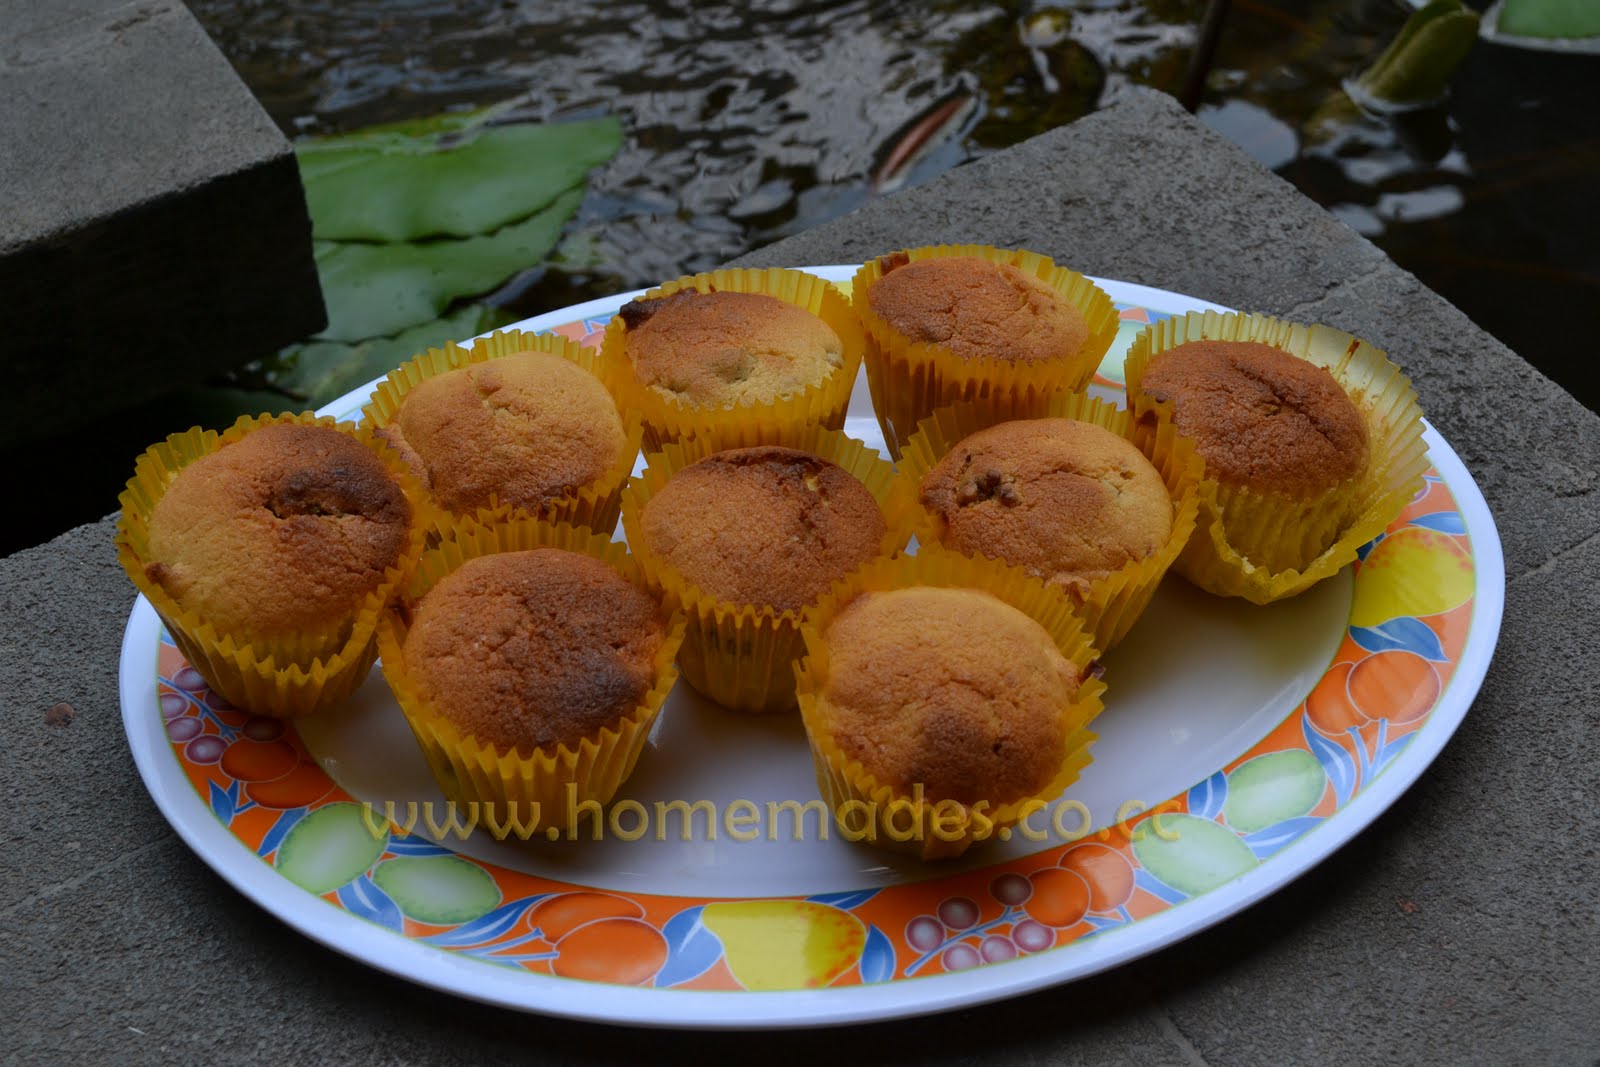
Ananas Cupcake


I had leftover homemade pineapple jam after last Idul Fitri. Homemade? Did I make it myself? No. Someone made it at her home and I just bought it, hehe! I made Nastaart (pineapple jam filled cookies) with it for the Eid day.
So yesterday, buttercake is the one thing I thought I could make it easy and quick. I remember the jam in the fridge, with previous recipe, voila: cupcake-shaped-nastaart!
The blend of butter and pineapple jam is sweeeet! The butter and yogurt made the cake easily melt in the mouth.
The filling is easy, because the homemade jam is very thick like paste so I can mold into small balls with my hand, then mix them in the batter with spatula.
So quick, so yummy.

Ananas Cupcake

Ingredients:

1 1/4 cup flour
150 gr butter
2/3 cup sugar
2 eggs
125 gr yogurt
1 tbsp homemade thick pineapple jam
More thick homemade pineapple jam, about probably 50-100 grams. it's really up to you ;)

Direcions:
- Preheat oven on 180C
- Line cupcake tins with liners.
- Beat margarine and sugar with electric mixer til the color turn to pale.
- Mix in eggs, one by one until quite fluffy-er.
- Mix in 1 tablespoon of pineapple jam, mix just to spread.
- Mix flour and yogurt in with spatula, alternating each.
Now, there are 2 ways:
1. Good way: pour in with spoon the batter in the liner, then fill in with jam, then cover it with batter.
2. My way: pinch the jam into small balls, and throw them into the batter. mix with spatula to spread them. Than, pour in the batter into the liner, make sure each liner has at least one ball ;)
- Bake for about 20-30 minutes or until it passed the poking test.
- Get it out of the oven. Eat!

Oops, sorry I bite it :p

Thursday, July 7, 2011

Lemony Marble Cake

Yellow,
It was quite a while that I hadn't seen my electric mixer. After the old one is broke, my dear hubby bought me a new one. But as my Mom was sick and then passed away, the house held some several events like 40 harian (40th day), a prayer for my Mom -even though I was not really agree about holding it, but anyway-. After that, I'm still have to take care of the house. It's darn messy. I just realize that we've been really lived in the junks. The house is too full with too many junks and unnecessary things. I was, and still, overwhelmed, and over-tired too.

Oh if you notice, I'm posting in English. I have to, for practice. Why? Later, maybe in a few months I will tell you guys. So, please forgive me for my lousy English :)

Back to the topic.
Due to those events I mentioned above, people came and helped us. Some stuffs in the house had to be moved somewhere. Apparently my electric mixer was moved too. I lost it for few days. But, I finally found it in one of the bedroom. Phew!
I'm glad my baby's back ^^

I have to admit, that I probably accept too much tasks after my Mom got sick. I still have a lot of tasks now. I know I probably should delegate some tasks to some other people. But to whom??
Maybe this fatigue has switch off my brain, I almost can't think of what should I do with the stuffs that still untouched in the house. They're just darn too freaking-many!
Anyway, I remember the time when I got depression after having new babies few years back. Baking, or making any delicacies, could loosen up my nerves. So, I thought making something with my mixer might help. I begun to think of what to make. I thought making easy cake will be great. Maybe just buttercake with 2 eggs. I remember I've once made a buttercake into cupcake. So I thought to make one again based on that recipe, only marbled.
I thought to add something tangy. I thought of orange. But the fridge said that I don't have any. But I have lemon! Nice.

While Pak Sadam, a distance neighbor, helped us moving up some stuffs while I was just pointing my finger to which stuffs should be moved, I started to make a cake. A marble buttercake, I thought.
I took out my digital scale, and turn it on. But nooo! It's not on! I'm not sure whether it need new battery or just broke. But I wasn't give up. I knew I have to switch the scaling into measuring with cups. I also got the margarine in sachet that weight 200 gram. So I imagined that the sachet was divided into 4 part, and I just took three part of it. (Sesat ya? ;p) So the measurement will be as you'll see bellow.

I used the 20x20cm tin. The cake came out quite flat, but not sodden. If you want to try this recipe, I suggest you to take a loaf tin. I used yogurt instead of milk to make it moister. The top has nice crumble. The chocolate part taste chocolaty dark, and the white part has a subtle lemony taste. Oh and I used margarine, only because my butter has expired. I still think butter is a better option.
Oh I typed too much. Here's the recipe. Enjoy :)


Lemony Marble Cake

Ingredients:

1 1/4 cup flour
150 gr butter/margarine
2/3 cup sugar
2 eggs
zest of 1 lemon
1 tbsp of lemon juice
125 gr yogurt
1 heap tsp cocoa powder
4 tsp hot/warm water

Directions:
- Preheat oven on 180C
- Mix cocoa with hot water until become paste. Set aside.
- Mix yogurt with zest and juice. Set aside.
- Beat margarine and sugar with electric mixer til the color turn to pale.
- Mix in eggs, one by one until quite fluffy-er.
- Mix flour and yogurt in with spatula, alternating each.
- Take about one third or half of the batter and mix it with the cocoa paste. Then you'll get white and chocolate batter.
- Line a tin with paper. I use 20x20cm tin (and it became thin cake, only about 1-1.5cm tall cake. Maybe you better use loaf tin ;))
- Pour in both of the batter with spatula or spoon into the tin. Make swirls with chopstick or sharp knife to make marble effect.
- Bake for about 20-30 minutes or until it passed the poking test.
- Get it out of the oven. Cut and eat. ;p

Makes about 16 slices

Thursday, June 16, 2011

Lapis Beras Pandan Suji


Love this!
Sebetulnya minggu lalu aku membuat kue pepe(kue Betawi), cuma ngga sempat didokumentasikan. Karena senang dengan hasil kue lapis tapioka/sagu tersebut, aku jadi terinspirasi membuat kue tradisional lainnya.
Di lemari kebetulan aku ternyata punya cukup banyak tepung beras. Jadi ingat Mamah suka memesan Kue Lapis Beras ini dari tetangga.
Setelah semedi sebentar dengan Mbah Google, aku menemukan dua resep ini(resep NCC di blognya mbak Hesti) dan itu(resep Femina di blognya mbak Lukie). Thanks to them ;) Setelah semedi selesai, aku memutuskan untuk sedikit menggabungkan keduanya. Aku masih ingin menggunakan pewarna alami, tapi dengan cara yang lebih simple. Caranya di bawah ini, mudah-mudahan dapat dipahami ya :)
Untuk pewarna dan perasa aku gunakan pandan, suji dan daun jeruk. Sayangnya daun jeruknya yang ada di rumah cuma sedikit. Tapi nggak apa-apa, pakai sajalah! Lalu aku menggunakan 4 lembar daun pandan saja, dan itu sudah cukup terasa aromanya sampai saat gigitan pun. Sedangkan daun suji aku hanya memakai 20 lembar, karena nggak tega merontokkan terlalu banyak daun dari si pohon :P Hasil warnanya seperti di foto ya, hijau alami.
Aku membuat kue ini malam-malam. Aku pakaikan dulu anak-anak piyamanya, dan kutempatkan di pos masing-masing (hehe). Setelah itu kutinggal sebentar untuk memanaskan santan. Baru kemudian aku menemani si Dede tidur.
Setelah Dede tidur barulah aku kembali ke dapur untuk menyelesaikan kuenya. Sambil membuat kue lapis per lapis, aku bisa merapikan rumah(yang mirip kapal induk pecah!) dan mencuci piring. Sempat juga makan mie instan sekalian sahur buat puasa keesokannya. Begitu selesai baru aku tidur. Setelah shalat Subuh baru aku potong-potong kuenya. Enak banget memotongnya, gampang!
Dede bangun dan seperti biasa memeriksa meja makan. Barusan dia sudah menghabiskan dua potong kue.
Puas deh, bisa bikin kue yang dijual tukang-tukang kue. Rasanya ketagihan bikin kue-kue tradisional. Sensasinya beda sama bikin cake. Apa aku lagi bosan aja sama cake ya? ;)


Lapis Beras Pandan Suji

Bahan :
250 gr tepung beras
100 gr tepung tapioka
300 gr gula pasir
1 liter santan
4 lbr daun pandan
20 lbr daun suji
3 lembar daun jeruk purut, sobek bagian tulangnya
1 sdt garam

Cara Membuat:
- Masak santan, daun jeruk, 3 lembar daun pandan dan garam sambil diaduk-aduk hingga mendidih, angkat, sisihkan.
- Ambil dua cup santan tadi dan bagilah ke dalam dua mangkuk berbeda. Maka kita mendapatkan 3 mangkuk santan: 1 bagian besar santan, dan 2 bagian santan masing-masing sejumlah 1 cup.
- Masukkan daun suji dan selembar daun pandan ke dalam blender bersama satu cup santan. Blender. Saring dan peras, hingga mendapatkan satu cup santan berwarna hijau. Sisihkan.
- Taruh di wadah, tepung beras, tepung sagu, gula pasir, aduk rata, tuangi bagian besar santan sedikit demi sedikit sampai santan habis sambil diuleni hingga menjadi adonan yang encer. Saring bila perlu.
- Bagi dua adonan encer ini ke dalam dua mangkuk santan yang berwarna putih dan berwarna hijau. Aduk rata adonan dan santan di masing-masing mangkuk.
- Panaskan dandang hingga airnya mendidih. Kecilkan api.
- Siapkan loyang 20x20, poles minyak sayur tipis-tipis.
- Tuang adonan putih dan hijau bergantian hingga terbentuk lapisan-lapisan. Kukus tiap lapisan 5-10 menit.
- Gunakan sendok sayur yg sama untuk menyendok adonan hijau dan putih.
- Ulangi terus sampai adonan habis, terakhir kukus 20 menit.
- Dinginkan, keluarkan dari loyang, potong-potong dengan menggunakan pisau yang dilapis plastik.


Wednesday, June 1, 2011

dan piala bergilir itu jatuh padaku..


It's been long, I know.
Sudah dua minggu Mamah meninggalkan kami, setelah sebelumnya beliau menginap tiga minggu di ICU tanpa sadar.
Nggak perlu menanyakan apakah kami kehilangan, jawabnya tentu saja iya.
Rasanya semua kesedihan pun nggak ingin kutuliskan.
Sekarang rumah ini kehilangan 'peri rumah' lagi. Enek meninggal 5 tahun lalu. Sejak beliau meninggal sebetulnya aku masih saja merasa kehilangan. Sekarang Mamah.
Mamah, Enek dan nenek-buyutku adalah orang-orang yang dikenal bisa masak. Pintar masak. Bahkan mungkin beberapa orang menganggap mereka jago masak . Nenek buyut memang tukang masak. Enek meski bukan seorang tukang masak, tapi masakannya dan kue lapisnya bisa bikin orang terkenang-kenang. Mamah memulai kegiatan dapurnya dari suka membuat kue, lalu setelah Enek sakit, barulah beliau berusaha memasak. Usaha serta belajar memasaknya Mamah itu berkembang jadi sangat baik. Beliau juga suka menjual kue kering saat Lebaran.
Sekarang semua 'ratu dapur' itu sudah nggak ada. Meninggalkan aku yang terbengong di dapur. Ya memang aku suka membuat kue, tapi kalau soal memasak untuk orang dewasa aku belum pernah serius. Cuma suamiku saja yang 'kuracuni' dengan bento-ku yang minimalis. Anak-anak juga kuracuni dengan masakanku yang sederhana.
Kondisiku sebetulnya mirip dengan Enek dulu. Beliau adalah satu-satunya perempuan di rumahnya yang berisi laki-laki semua; abang dan adiknya. Saat ini di rumah ini semua lelaki kecuali aku. Siapa lagi yang diharapkan mengurus rumah tangga ini? Tentunya aku. Aku ingin banget bisa mengerjakan semua, seperti mereka dulu.
Aku sebetulnya sangat ingin mencoba sampai bisa masak, mengikuti jejak Mamah yang beralih dari 'perkuehan' ke 'permasakan'. Sayangnya sepertinya nggak ada yang percaya aku mau dan mampu mencoba, even my dad. Kalau mereka mengharapkan aku langsung bisa, tentu saja itu sebuah keajaiban :) But I really hope they let me try. Sebaliknya, mereka malah maunya katering makanan saja dari tukang masak :(
Ini sebetulnya agak membuatku merasa malu, karena membuatku merasa aku bahwa keturunan tukang masak yang failed. Selain itu sebetulnya aku benci dianggap nggak mampu saat aku sebetulnya baru mau mencoba.
But, while we're all still mourning, I'll try to understand and try to calm.
But I won't give up from trying to cook. I'll find a way. InsyaAllah. And I know someday I CAN COOK!

Bismillah..